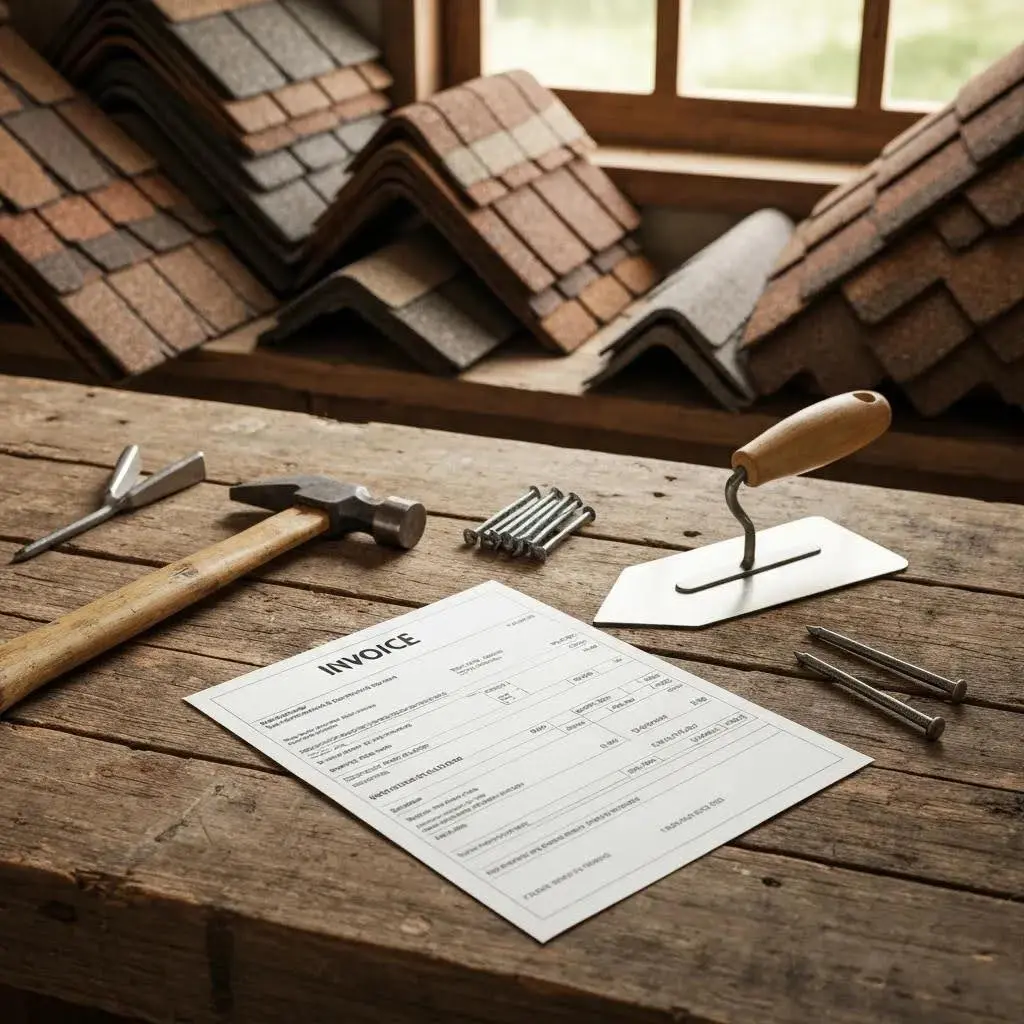
A roofing invoice is a formal record that documents work completed, materials supplied, and the total amount due. A clear invoice speeds payment and improves cash flow for UK roofing contractors.
This guide shows you how to create a professional roofing invoice that itemises materials and labour, displays VAT correctly, and sets enforceable payment terms.
Many tradespeople struggle with unclear line items, missing VAT details, and slow payments after finishing a job, so a robust invoice format helps solve these problems while supporting bookkeeping and accounting reconciliation.
This guide provides a breakdown of required invoice elements, a step-by-step workflow from quote to issued invoice, UK-specific VAT and payment-term guidance, and options for using invoicing software to automate the process.
What Should a Roofing Invoice Include? Essential Elements Explained
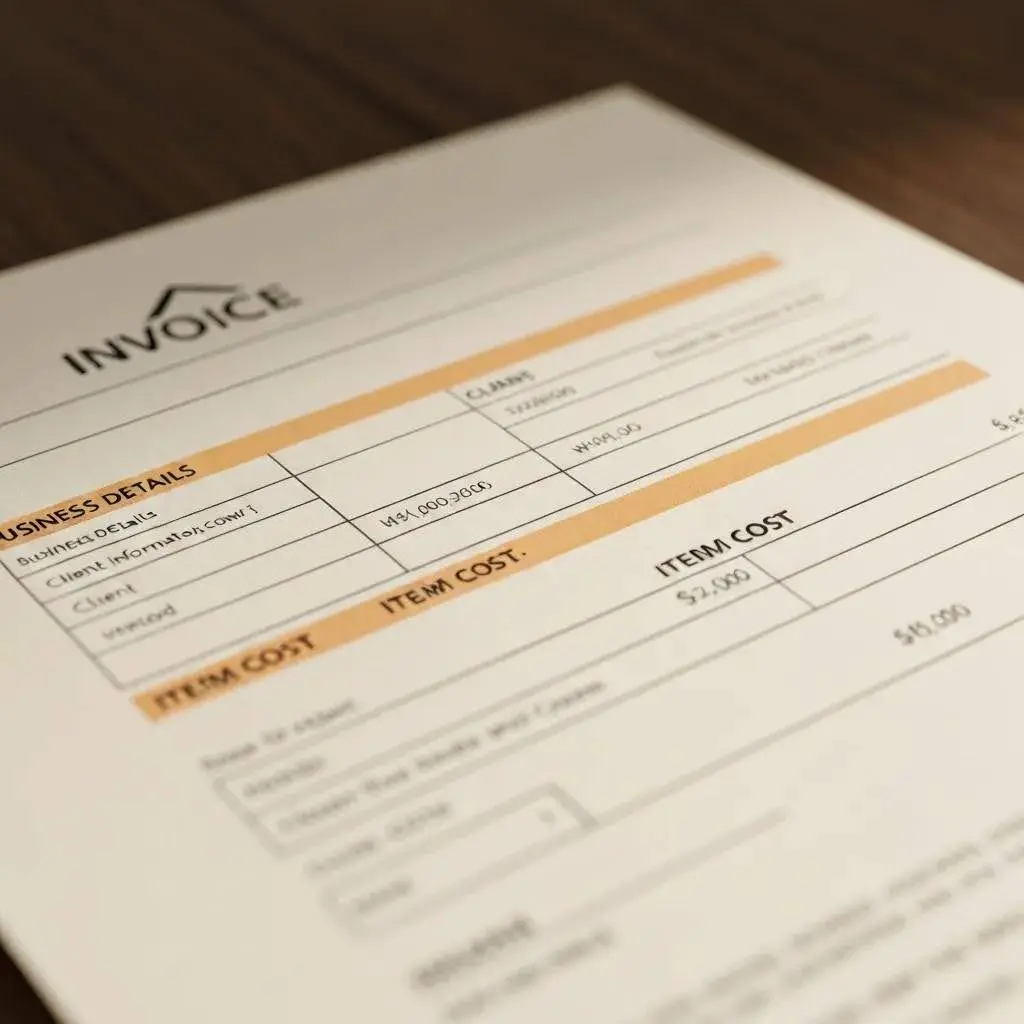
A roofing invoice should contain three kinds of information: clear identification of parties, an itemised cost breakdown, and tax and payment details to ensure legal and accounting clarity. Presenting these elements correctly reduces disputes and makes VAT reporting straightforward, which directly helps cash flow and compliance.
Use a simple checklist of the core fields every roofing invoice needs, along with a compact reference table to show why each field matters and how to format it.
Core invoice fields to include:
- Present your business name, address, and VAT number clearly at the top of the invoice.
- Keep the client name and job address separate from the billing address to avoid confusion.
- Include the invoice number, invoice date, and supply or completion date to support accounting and VAT reporting.
- Itemised line items that show description, unit, quantity, unit price, and line total.
These fields create a transparent record that supports payment and VAT reconciliation while protecting you against disputes.
| Invoice Component | Why It Matters | xample / Format |
|---|---|---|
| Business Details | Identifies the supplier for VAT and legal records | “Your Business Ltd, Address; VAT Reg: GB123456789” |
| Client & Job Details | Links the invoice to the contract and job site | “Client Name; Site: 12 Roof Lane, Billing: Client Address” |
| Line Items | Shows what was supplied and how the price is calculated | “Roof tiles — 200 units @ £2.50 = £500.00” |
| Totals & VAT | Provides subtotal, VAT amount, and total due | “Subtotal £1,200.00; VAT 20% £240.00; Total £1,440.00” |
This table gives a compact reference you can use to check an invoice before sending it to a customer.
Which Business and Client Details Are Required on a Roofing Invoice?
Include complete supplier and client details to make invoices legally valid and easy to reconcile with accounts. Clear placement helps prevent payment delays.
List your business name, trading name if different, full address, and VAT registration number (if registered for VAT) near the header so accountants and customers can locate them quickly.
For the client, provide their billing name and address, plus the job site address if different, and add a customer reference or purchase order number when available to match internal systems.
Present dates clearly: invoice date, supply or completion date, and payment due date; these dates determine VAT periods and payment schedules and reduce queries that slow payment.
How to Itemise Materials, Labour, and Additional Costs Clearly
Itemise materials, labour, subcontractor charges, and extras so each line explains the cost basis and avoids ambiguity that can trigger disputes. Use short, consistent descriptions, specify units and quantities (e.g., metres, tiles, hours), and show unit price and line totals. Separate labour from materials or explicitly note a combined rate if you use one.
For variations or additional works, add a clear “Variation” line referencing the original quote or change order, and include any retention, discounts, or deposits previously taken. Clear itemisation helps customers understand charges and supports faster approval and payment.
How Do You Create a Roofing Invoice Step-by-Step?
Creating a roofing invoice follows a sequence from gathering evidence to sending and tracking the invoice; using a standard workflow reduces errors and accelerates payment.
Gather job records first, draft an itemised invoice with VAT calculations and totals next, then format, issue, and follow up while recording payment status for bookkeeping. The numbered steps below map the practical actions you should take and include how some software features can automate repetitive tasks.
Follow these steps to issue an invoice:
- Collect job details and evidence such as the signed quote, job sheet, and photos.
- Draft an itemised invoice matching quoted items and including VAT where applicable.
- Assign a unique invoice number, set payment terms, and attach supporting documents.
- Send the invoice as a PDF with a clear subject and filename, then log and follow up on unpaid invoices.
These steps ensure each invoice is auditable and ready for accounting or dispute resolution.
| Step | Action | Example / Tool |
|---|---|---|
| 1 | Gather job data | Signed quote, materials list, timesheets |
| 2 | Create an itemised invoice | Line items with unit, qty, unit price, and VAT |
| 3 | Finalise and send | Invoice number, PDF, email subject ‘Invoice #1234’ |
| 4 | Track payment | Mark as paid or unpaid, and send a reminder if overdue. |
This table maps each step to practical outputs you can use immediately. Trade-Linked can automate many of these steps by converting quotes or smart-form reports into invoices, and you can join the waitlist or watch a demo to see automated invoice generation and tracking in action.
What Information Do You Need Before Starting Your Roofing Invoice?
Before drafting an invoice, confirm you have accurate client contact and billing details, the agreed quote or contract, a list of materials used with quantities and prices, and recorded labour hours or rates.
Verify VAT status for the job and confirm whether any materials are zero-rated or subject to special rules, and note any deposit or part-payment already received to avoid double-billing.
Keep evidence, such as photographs or a job sheet, attached to the invoice to support variations or retention clauses. Preparing this information in advance reduces errors, speeds invoice creation, and improves clarity for both parties.
How to Format and Send Your Roofing Invoice Professionally
Format invoices for readability: use clear headings, consistent fonts, and logical grouping of materials, labour, and taxes so the customer can verify charges quickly.
Save invoices as uneditable PDFs, use a subject line that includes invoice number and job address, and produce a professional file name such as “Invoice_1234_ClientName.pdf” to aid organisation.
For delivery, email the PDF with a short message summarising the amount due and preferred payment methods, and record delivery in your job management system. Professional formatting reduces queries and speeds payment, and digital delivery plus tracking avoids lost invoices.
What Are the UK VAT and Payment Terms Requirements for Roofing Invoices?
UK roofing invoices must correctly display VAT when supplies are taxable; showing VAT clearly prevents accounting errors and supports accurate VAT returns.
If you are VAT-registered, include your VAT registration number and show VAT either per line item or as a single VAT total; be explicit about the VAT rate applied and ensure invoice dates align with VAT periods.
Below are practical recommendations on payment terms and examples of invoice wording to prompt timely settlement.
Key VAT and payment reminders:
- Always include your VAT registration number on invoices when charging VAT.
- Show VAT amounts clearly either on each line item or as a VAT subtotal and total.
- State payment terms (e.g., 14 or 30 days) and include instructions for deposits or retention.
Clear VAT presentation and firm payment terms reduce disputes and speed reconciliation with accounting records.
How to Include VAT Registration and Tax Details Correctly
Place your VAT registration number near your business details at the top of the invoice and state the VAT rate used for each taxable line or as a VAT total; this makes VAT reclaim and audit straightforward.
Provide the invoice date and the tax point (supply date) if different, because the tax point determines the VAT period for reporting. For mixed supplies or special rules such as reverse charge scenarios, add a brief note explaining why VAT is not charged; consult HMRC guidance for specific cases.
Accurate VAT presentation prevents costly bookkeeping errors and supports timely VAT returns. Understanding the intricacies of VAT compliance is crucial for UK businesses to avoid penalties and ensure accurate financial reporting.
What Payment Terms Should Roofing Contractors Set for Faster Payments?
Choose payment terms that balance cash flow and client expectations; common practices include requiring a deposit, offering 7–14 day terms for smaller contracts, or 30 days for larger customers with credit.
Encourage faster payments with clear bank details, BACS preference, and optional card or online payment options, and consider modest early payment discounts or late-payment penalties stated as a percentage per month.
Use concise, professional wording for terms such as “Payment due within 14 days of invoice date; late payments subject to interest at X% per annum” and record any agreed deviations from standard terms on the invoice. Firm, clear terms backed by consistent follow-up typically shorten payment cycles.
How Can Roofing Invoice Software Simplify Your Billing Process?

Invoicing software saves time by automating calculations, applying VAT rules, and attaching job evidence, which reduces manual errors and shortens the path to payment.
It can also link invoices to quotes and job sheets, send reminders for overdue invoices, and sync with accounting packages to eliminate double entry. Below are features to prioritise and a compact table showing how each feature benefits everyday roofing workflows.
Essential software features to look for:
- Line-item templates and VAT handling so invoices match trade-specific materials and rates.
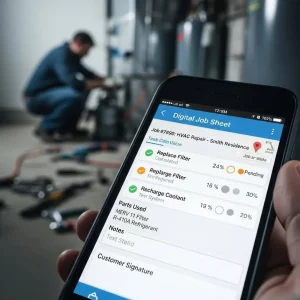
- Mobile invoicing and job linking to create invoices from the site using photos and job sheets.
- Accounting integrations to reconcile payments automatically with Xero or Sage.
These features reduce admin time and make it easier to convert an accepted quote into a compliant invoice quickly.
| Feature | Benefit | When to Use |
|---|---|---|
| Templates & VAT | Fast, compliant invoices | Routine jobs with repeat items |
| Mobile invoicing | Issue invoices from the site | When finishing work on the roof |
| Accounting sync | Automatic reconciliation | For regular bookkeeping and VAT returns |
Trade-Linked’s platform supports invoicing templates, smart forms that convert quotes and reports into invoices, and integrations that streamline reconciliation; you can watch a demo or join the waitlist to see how these features automate billing and reduce admin, or subscribe when ready to adopt automated job-to-invoice workflows.
What Features Should You Look for in Roofing Invoice Software?
Prioritise software that offers trade-specific line-item templates, robust VAT handling, job linking, mobile apps, and integrations with accounting packages so invoices flow directly into your bookkeeping. Templates save keystrokes for common materials like tiles and membranes, while job linking attaches photos and timesheets to back up charges.
Mobile capability lets you issue invoices on-site, cutting the time between completion and billing, and integrations with popular accounting systems reduce manual reconciliation. Selecting software with these features streamlines billing and supports predictable cash flow.
How Does Trade-Linked’s Platform Automate Roofing Invoice Creation?
Trade-Linked roofing software provides modules for invoicing, smart forms, job management, and reporting that convert estimates and site reports into professional invoices automatically, reducing manual data entry and errors. Smart forms capture material lists, labour hours, and variations on site, which then populate line items and calculate VAT and totals within an invoice template.
Automated invoice numbering, reminders, and accounting sync simplify follow-up and reconciliation, while mobile access allows issuing invoices from the job location. If you want to see these automated workflows in action, consider watching a demo or joining the Trade-Linked waitlist to evaluate whether subscribing fits your business needs.
Turn Clear Invoices Into Faster Payments
A professional roofing invoice is more than a bill – it’s a record that protects your cash flow, supports VAT compliance, and reduces disputes. When your documents clearly show who the job was for, what was supplied, how prices were calculated, and when payment is due, customers have fewer reasons to delay.
If you standardise your invoice fields, follow the same step-by-step workflow every time, and keep VAT and payment terms consistent, billing becomes faster and less stressful. From there, invoicing software can take over the heavy lifting.
Trade-Linked helps UK contractors turn quotes, job sheets, and smart forms into clear, compliant invoices with automated numbering, reminders, and accounting sync. That way, you spend less time chasing paperwork and more time running profitable roofing jobs.